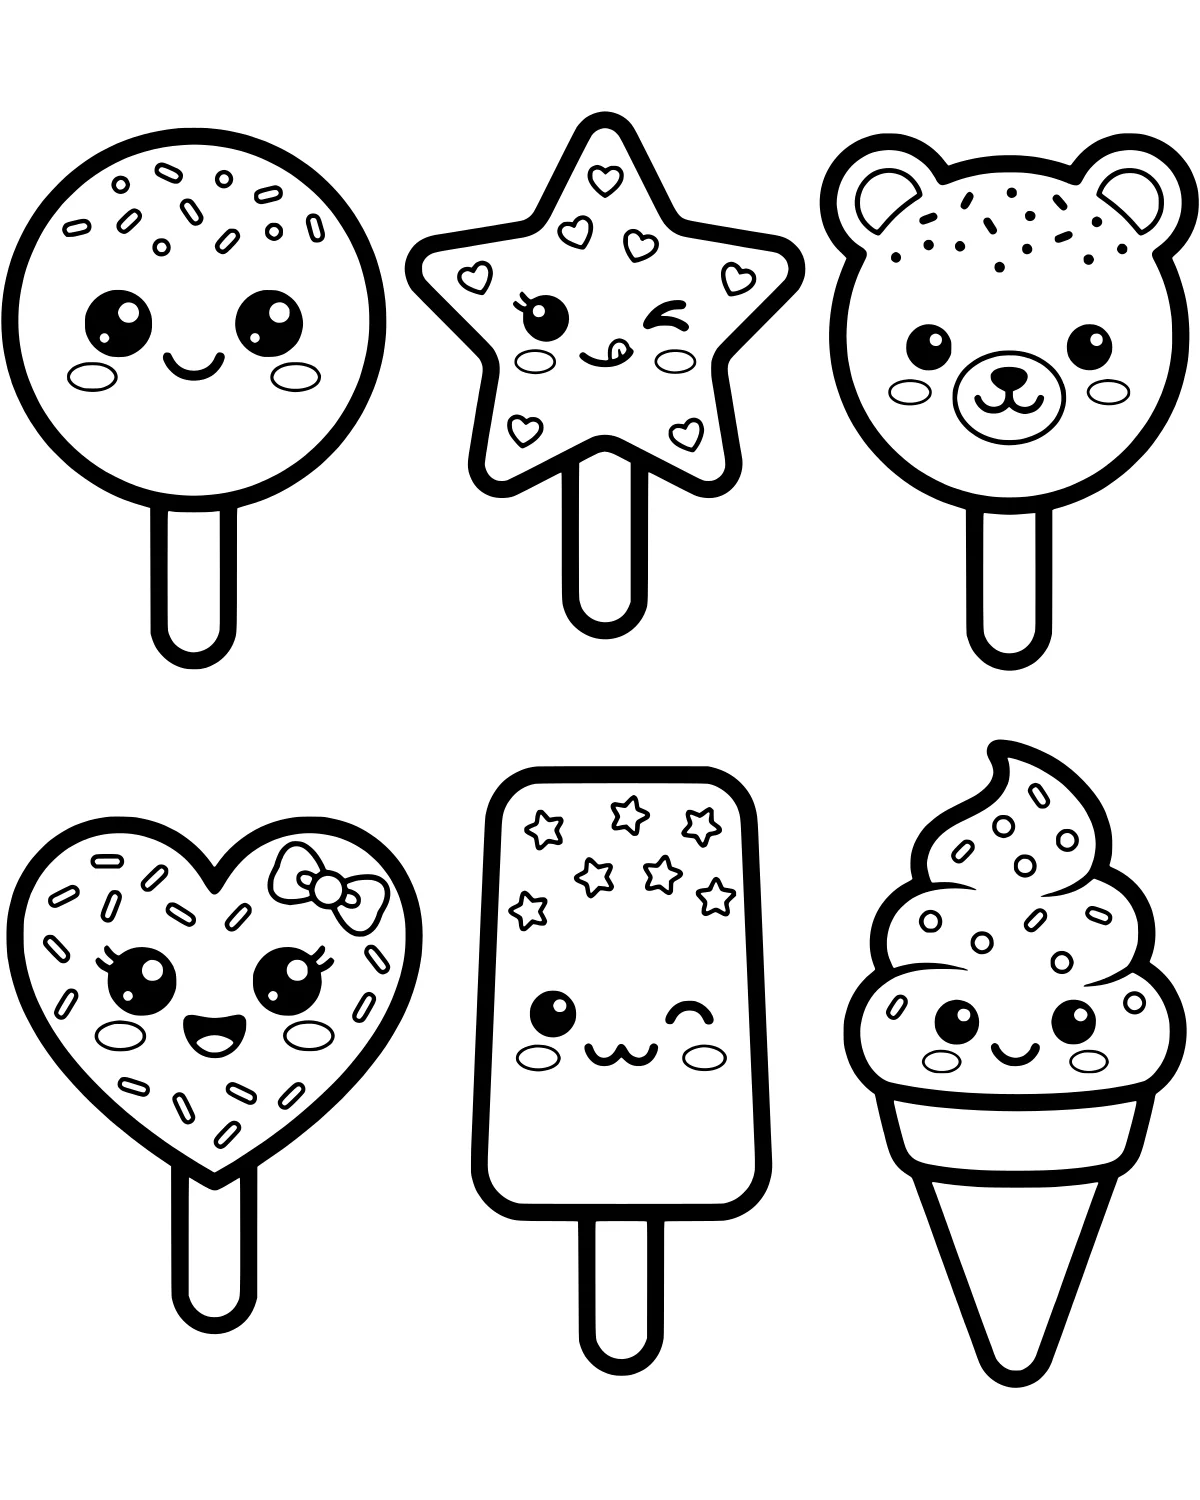
This delightful scene features a collection of six kawaii frozen treats that are almost too cute to eat. Each treat has its own unique personality, from a smiling bear face popsicle to a cheerful star-shaped popsicle. These sweet characters are arranged in two rows, waiting for some bright colors to bring their happy faces to life.
Whether you love a classic ice cream cone or a fun heart-shaped popsicle, this page offers a variety of shapes to explore. The playful mood makes it a perfect choice for a sunny afternoon activity. You can imagine these treats cooling everyone down at a summer party while they show off their friendly expressions.
Color Palette Ideas
What's In This Picture
In the top row, you will find a perfectly round popsicle with a tiny smile, followed by a twinkling star popsicle and an adorable bear face popsicle with little ears. Moving to the bottom row, there is a lovely heart popsicle and a classic rectangular popsicle, both sporting cheerful faces. Finally, a tall ice cream cone with a swirling scoop completes the group.
Every frozen treat sits on a simple wooden stick, except for the ice cream which is tucked into a textured cone. The moderate line density makes it easy to stay within the lines while still offering enough detail to make each character stand out. The variety of shapes provides a wonderful opportunity to practice coloring different curves and angles.
Coloring Tips
For these sweet characters, you might want to use a palette of pastel colors like soft pink, mint green, and lemon yellow to give them a classic frozen treat look. Using colored pencils allows you to gently shade the edges of the popsicles, giving them a slightly rounded, 3D appearance. You can also try using markers for the bold, expressive eyes and smiles to make the faces really pop against the lighter body colors.
Don't forget to color the wooden sticks with a light tan or beige. For the ice cream cone, a criss-cross pattern with a slightly darker brown can help create a realistic waffle texture. If you want to get creative, you could even add some tiny dots for sprinkles or glitter on the star and heart shapes using a white gel pen or a bright yellow marker.
Did You Know?
Did you know that the very first popsicle was invented by accident? In 1905, an 11-year-old boy named Frank Epperson left a cup of soda with a stirring stick outside on a cold night. When he woke up, he found a frozen drink on a stick. He originally called his invention the Epsicle, but later changed it to Popsicle because his children called them Pop's sicles.
Try This!
After you finish coloring, you can try naming each of the six characters based on their shapes and colors. You might also want to draw your own dream frozen treat on the back of the page, perhaps combining a unicorn or a dragon shape with your favorite flavors. This is a great way to think about different shapes and how to turn everyday objects into cute characters.
Frequently Asked Questions
What colors should I use for the bear popsicle?
Can I use watercolors on this page?
How do I make the ice cream look cold?
Popular Collections
Animal Coloring Pages
Animals bring a special kind of life to any art project. Whether you love the quiet of a deep forest...
Spring Coloring Pages
As the frost melts away and the first green shoots poke through the soil, we welcome the vibrant ene...
Adult Coloring Pages
Adult coloring has transformed from a niche hobby into a globally recognized form of therapeutic rel...
First Grade Coloring Pages
First grade is such a big year for little ones. They are moving from the basics of preschool into th...
You Might Also Like

Yummy Glazed Donut with Sprinkles
Food & Drinks

Sweet Swirl Ice Cream Cone
Food & Drinks

Spooky Scoops and Happy Spoon Bowl
Food & Drinks

Friendly Popsicle Family
Food & Drinks

Kawaii Teapot and Cup with Hearts
Food & Drinks

Cute Heart Lollipop with Bow
Food & Drinks

Happy Celebration Cupcake with Candle
Food & Drinks

Cheerful Cartoon Pineapple Wearing Sunglasses
Food & Drinks