Imagine a world of discovery where a young boy scientist is busy making a new breakthrough. This scene captures the thrill of a chemistry experiment right in the middle of a bustling laboratory. He wears his safety goggles and a professional lab coat, looking ready to solve the mysteries of the universe. This is a wonderful way to explore the world of science while having fun with your favorite colors. Every part of the lab is ready for a splash of color to bring this scientific adventure to life.
Whether you enjoy bright neon shades or realistic tones, this page offers plenty of details to explore. You can see the excitement on the boy's face as he works on his latest invention. It is the perfect activity for anyone who loves learning and exploring how things work.
Color Palette Ideas
What's In This Picture
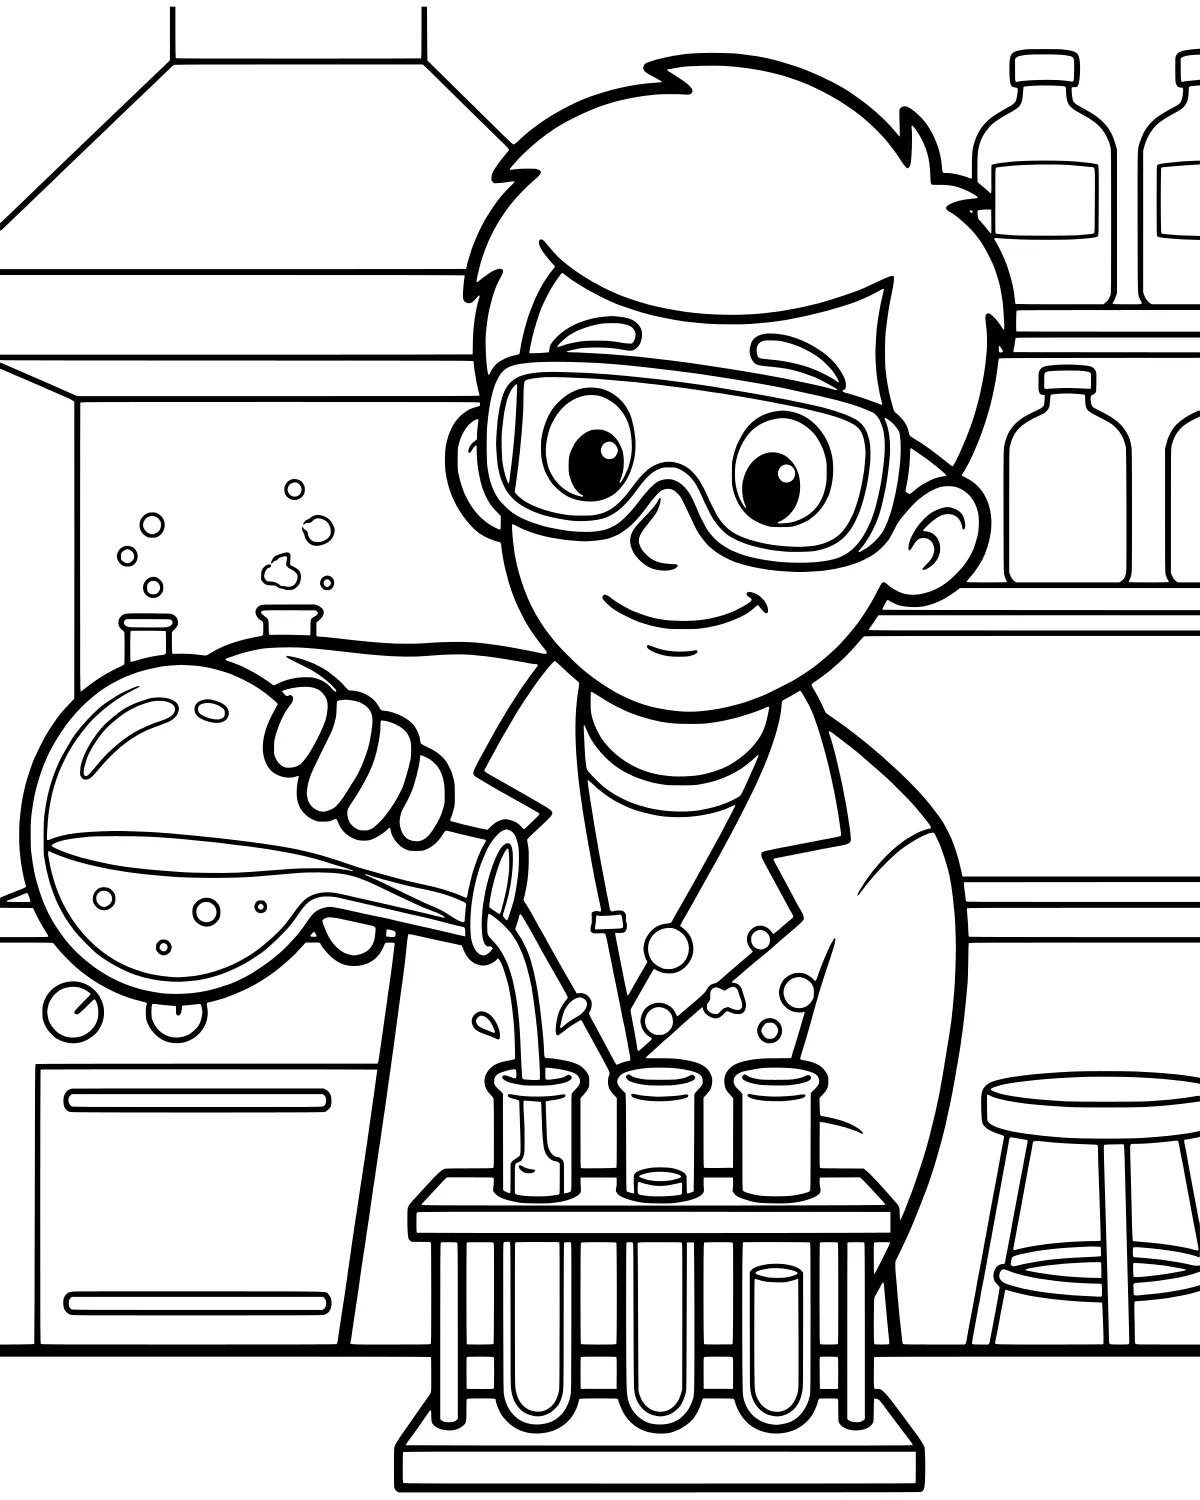
As you look at this page, you will notice the young scientist carefully pouring a mysterious liquid from a flask into a row of test tubes. The test tube rack sits steadily on the laboratory bench, holding everything in place for the big reaction. In the background, a fume hood keeps the air clear, and several bottles of ingredients line the shelves. The stool nearby waits for the scientist to take a break after his hard work is finished.
You can see tiny bubbles rising from the mixture in the beaker, showing that a reaction is happening right now. The boy is focused, wearing his protective safety goggles and a long lab coat to stay safe while he works. Every piece of equipment, from the small bottles to the large fume hood, adds to the feeling of a real working laboratory environment.
Coloring Tips
You can make the liquids in the beaker and flask look exciting by using bright colors like lime green, electric purple, or glowing orange. For the lab coat, try using a very light blue or soft gray to give it some depth while keeping it looking professional. The safety goggles look great with a hint of light blue on the lenses to mimic the reflection of glass. To make the bubbles pop, you might use a silver or light yellow pen to give them a bit of sparkle.
The wooden laboratory bench can be colored with a warm brown to contrast with the cool metallic colors of the scientific equipment. If you want to make the scene feel more active, use different colors for each test tube to show a variety of chemicals being tested. Adding some light shading under the stool and the bottles will help the objects look like they are sitting solidly on the surfaces.
Did You Know?
Did you know that scientists wear safety goggles because their eyes are very sensitive? Even the smallest splash of a harmless liquid could be uncomfortable, so staying safe is the most important part of any experiment. Many famous scientists started their journey just like this, by asking curious questions and testing their ideas in a laboratory. Chemistry is often called the central science because it connects so many other fields together.
Try This!
After you finish coloring the young scientist, try drawing your own secret ingredient on the label of one of the bottles. You could also write a name for the experiment at the top of the page, like Super Bouncy Potion or The Invisible Ink Formula. If you feel like being an explorer, try to find and count all the test tubes hidden in the rack.
Frequently Asked Questions
What colors should I use for the liquids?
Is this coloring page suitable for a school science project?
What is the boy wearing on his face?
Popular Collections
Animal Coloring Pages
Animals bring a special kind of life to any art project. Whether you love the quiet of a deep forest...
Spring Coloring Pages
As the frost melts away and the first green shoots poke through the soil, we welcome the vibrant ene...


Cute Coloring Pages
Finding something charming and sweet to color is one of the quickest ways to brighten a rainy aftern...
Adult Coloring Pages
Adult coloring has transformed from a niche hobby into a globally recognized form of therapeutic rel...
You Might Also Like

Butterfly Life Cycle Diagram
Educational

Whimsical Family Tree with Photo Frames
Educational

Friendly Yak and the Letter Y
Educational

May Nature Scavenger Hunt Adventure
Educational

Shark Anatomy Diagram for Kids
Educational

Teacher Appreciation Apple Mandala
Educational

Science Princess in the Lab
Educational

Seasonal Tree Cycle Through the Year
Educational